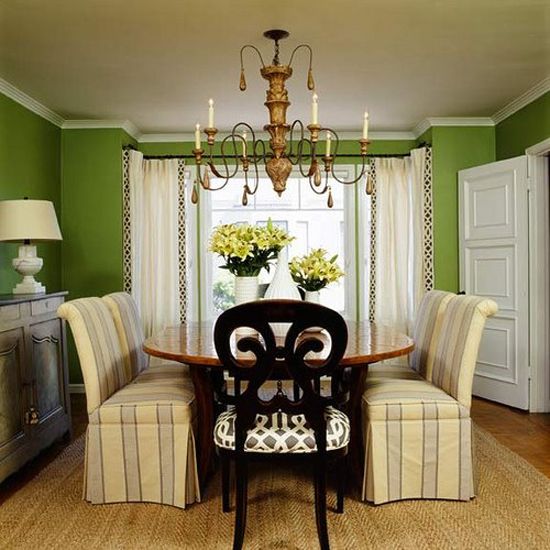
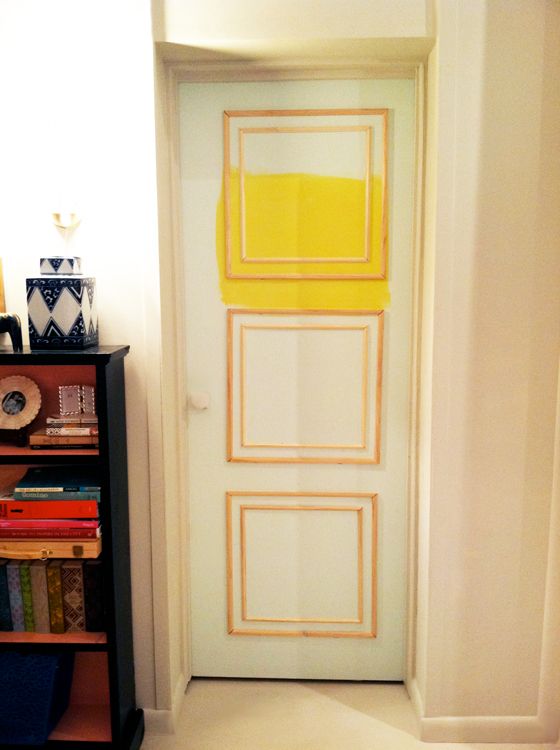
I really wanted to add some architectural detail to that cheapest of cheap hollow-core door. This image from Patrice Cowan Bevins was my inspiration.
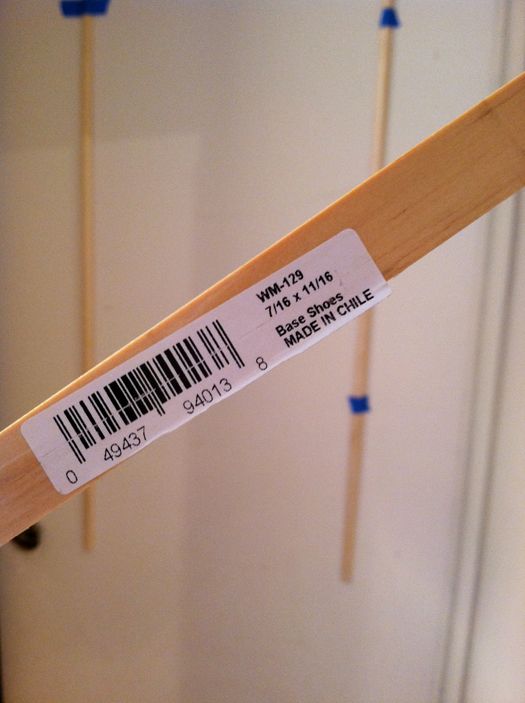
I picked up three lengths of inexpensive shoe moulding from Home Depot,
and six of these shorter mouldings from Michaels (the same bin I got my studded trim from).

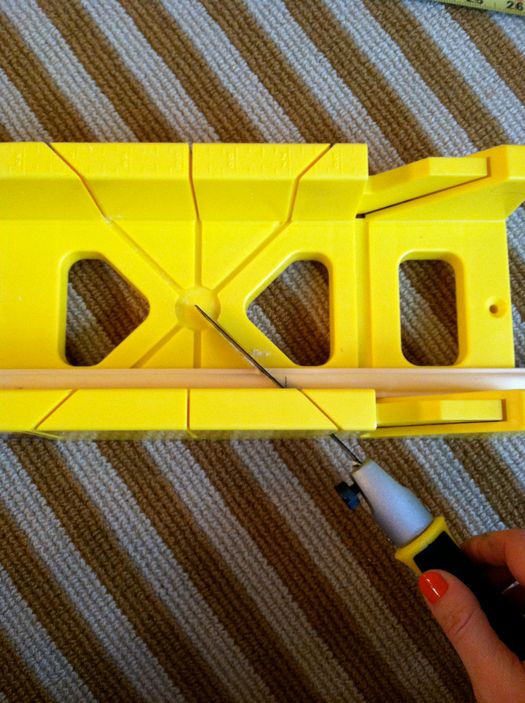
This little hand saw has been my best friend today.

I absolutely zipped through the cutting of the moulding using the saw and my miter box (both are about $5 at Home Depot).
The bigger outer square is 20.5" wide and the inner square is 16.5".
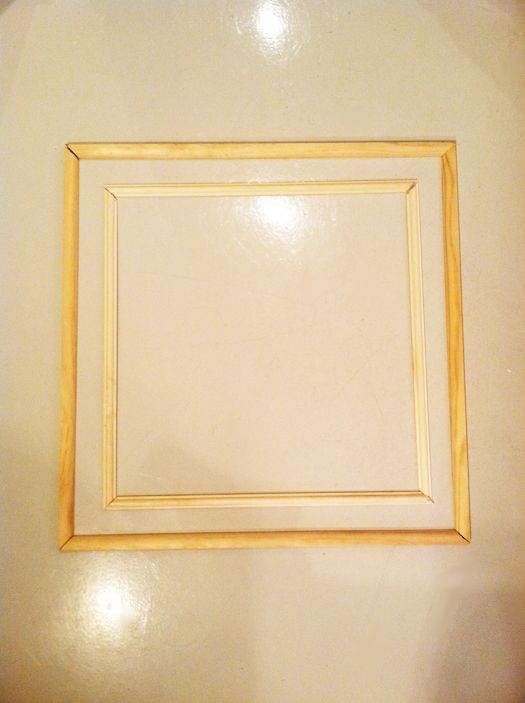
I used some Liquid Nails to glue the squares on the door (I very roughly marked out the lines on the door first as a guide), but I think tomorrow I'm going to nail some wire brads in too before I caulk the whole thing and give it a paint job. I'm excited about the yellow! I think it will be a really fun and unexpected.
The molding makes a huge difference. That is going to look awesome!
ReplyDeleteThat is a great idea! Love this blog! :)
ReplyDeleteLove the molding! Can't wait to see it all painted out.
ReplyDeleteAm I happy you posted this, I am about to do something simlar on my walls in my powder room and this has given me loads of ideas. thanks xx
ReplyDeleteYou are very clever. I love this idea and I can not waiting to see the final version..
ReplyDeleteDo you guys rent or own? I'd love to make a change like this, but I can't imagine my landlord letting me.
ReplyDeleteThat is going to look awesome! Love the molding!
ReplyDeleteHomeowner Insurance
I agree that is going to look awesome! The molding just really sets it off!
ReplyDeleteWonderful idea! Door is going to look great.
ReplyDeleteIt's looking great so far! I was disappointed yesterday to find out that my local Michael's no longer carries decorative molding. And here in Charlotte we don't have JoAnns - can you believe that?
ReplyDeleteHollow core doors...eeewww, moulding applied in a creative way along with a coat of yummy yellow paint? Right on! What a great project to inject a little life and interest. Can't wait to see the result!
ReplyDeleteCathy @ Room Rx
I've been trying to think of how I can make these big square moldings for my empty walls! I have never seent the miter box but now think it is brilliant. Thanks for the tutorial!
ReplyDeleteP.s. I love the photo of you holding the hand saw but still with painted nails! haha
It's going to be amazing! Your yellow looks perfect. So hard to find the perfect shade but I think you've done it. Go Jenny!
ReplyDeleteLooks great! I can't wait to see the finished product!
ReplyDeleteFashionable Collections
How are you so awesome?? I love your can-do attitude and use of color. I used your black/coral bookshelf as inspiration and sassed up an old ikea shelf for my dining room. It's way cute!
ReplyDeleteAwesome ingenuity!
ReplyDeleteHow can you do so much with just an extra hour? Such an inspiration!
ReplyDeleteI can't wait to see the finished product!! LOVING the yellow!
ReplyDeleteI'm excited to see the end results! We just dressed up some of our doors the same way and love how they turned out!
ReplyDeleteDuh! I didn't realize you could cut corners with a simple tool like that! I've stalled on many projects thinking there was some huge, complex tool you needed to cut corners! Thanks for simplifying my life!
ReplyDeleteLove this idea. I don't think I'm that mathematically inclined to get something like this executed correctly. Can't wait to see the finished product.
ReplyDeleteI can't wait to see the finished door!!!
ReplyDeleteLove the molding! I also love the yellow door idea - so bright, cheerful, and unexpected!
ReplyDeletelove this idea!!
ReplyDeleteLove it, almost makes me wish I had flat doors!
ReplyDeletewow. i love that and would not have thought of it. all of our doors are already molded...so maybe some day in a different house i'll use that idea.
ReplyDeleteCool... looking forward to the finished product.
ReplyDeleteLOVE!
ReplyDeleteIt's amazing what adding some molding does! Simple, clever and really changes that door!
ReplyDeletegreat project idea- yellow is my favorite color.
ReplyDeleteThis is such a great idea - I'm totally inspired. I didn't realize you could do this with a simple mitre box and hand saw. Awesome!! It's going to look amazing.
ReplyDeleteWhat an awesome idea! I wish I could do this to the super cheap doors in the house that I'm renting. The landlords did a great job renovating and installed quality windows, blinds, and appliances, but totally cheaped out with the doors and doorknobs. I wonder if they would mind some decorative moulding...
ReplyDeleteIt's going to look awesome! I'm trying to convince my husband to paint our front door that color when we install it.
ReplyDeleteWhat a fun idea I have an old door that would love this :)
ReplyDeleteYou are amazingness on a stick!!! xoxo
ReplyDeleteWhat a great idea for a plain door. The molding adds so much richness to it along with the pop of color. I love your blog- I'm a regular. Thanks for all your inspirational ideas- you're really helping me with my home.
ReplyDeleteDoors with molding always look nicer! What a great idea to add it. Just found your blog, hello! ;)
ReplyDeleteWhere did you get your doorknob from? Was it easy to install? Great post!
ReplyDeleteHi Jenny,
ReplyDeleteYour blog has been a favorite for about a year. In fact it has been the first one I check for inspiration for many months. I especially loved your kitchen island recently. I love your style and creativity! If I could hire a designer it would be you! However something has happened with your blog in the last month that does not allow me to see the pictures anymore. They are just little boxes. Such a dissappointment. I am not a techy so I don't know what to do. Clicking on the boxes doesn't change them into pictures. I have kind of stopped following your blog because it is too frustrating to not see what you are doing. Anyway thanks for all the ideas and inspiration.
love it!! Can't wait to see the "after" photo!! Great idea:)
ReplyDeleteI am a novice to home projects like this but you make it look so easy. When I have an extra hour I certainly don't accomplish things like this - it's going to look amazing. I'm curious about the caulking part - why is that necessary? Hopefully you will talk more about this project in another post - I'm sure I am not the only one who is interested in all the little details! Thanks so much for continuing to impress & inspire.
ReplyDeleteI have never thought about using molding to dress up my doors - looks like it's going to be absolutely fantastic!
ReplyDeleteWhich Michaels did you get the trim from? I also live in Manhattan and have been trying to track some down for months! The Michaels near HomeGoods didn't have it last time I looked... Thanks! :)
ReplyDeleteI've been planning on doing the same thing to one of my interior doors. Right now I'm finishing up on upholstering one of them.
ReplyDeleteAnd I have been planning to paint my front door yellow, too! I love yellow front doors with brass hardware as well as navy blue doors with brass hardware.