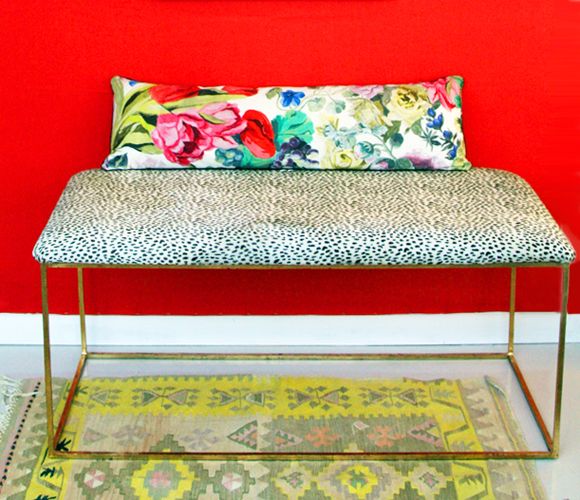
 Remember the not-so-vintage bench I was going to reupholster in the spotted leather? I finished it before we went on vacation. I used my favorite corner method and thought I'd share. It's an easy approach.
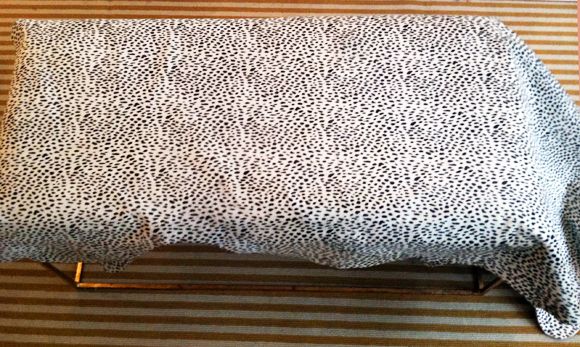
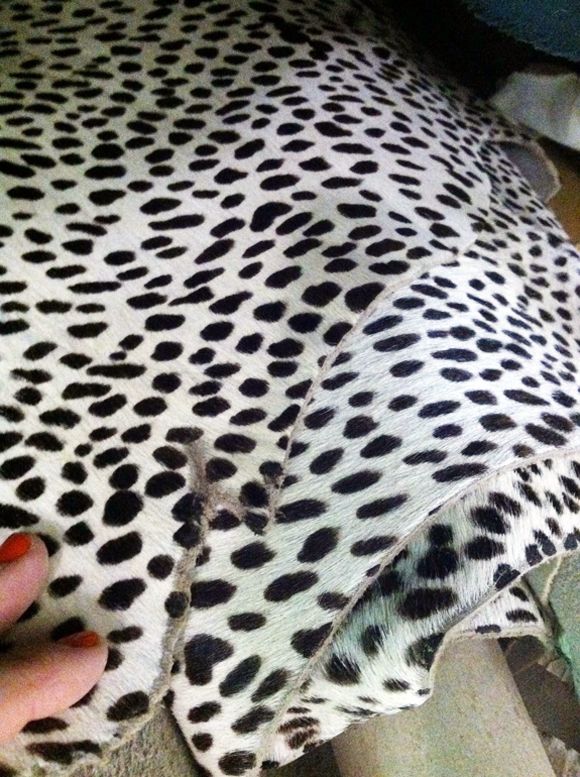 First I laid out the hide to figure out the pattern placement.
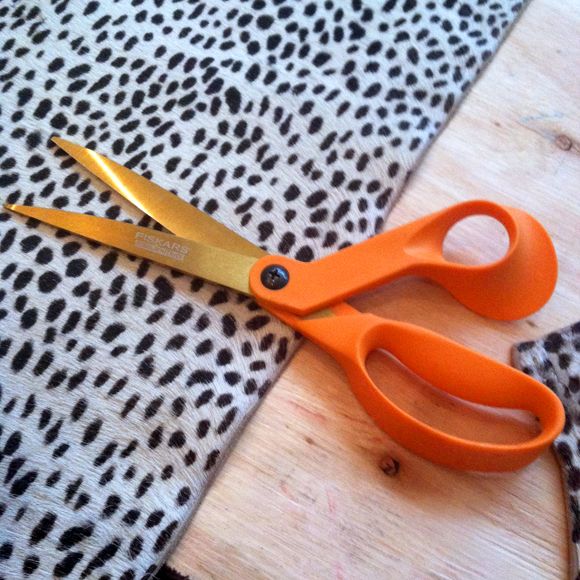
I used these new AMAZING
heavy-duty scissors to cut the edges of the piece and make a clean, straight edge.
You want about three inches of overhang with bench tops or drop seats for chairs. It's enough fabric for you to be able to pull nice and tight, but there won't be leftovers peeking out from underneath.
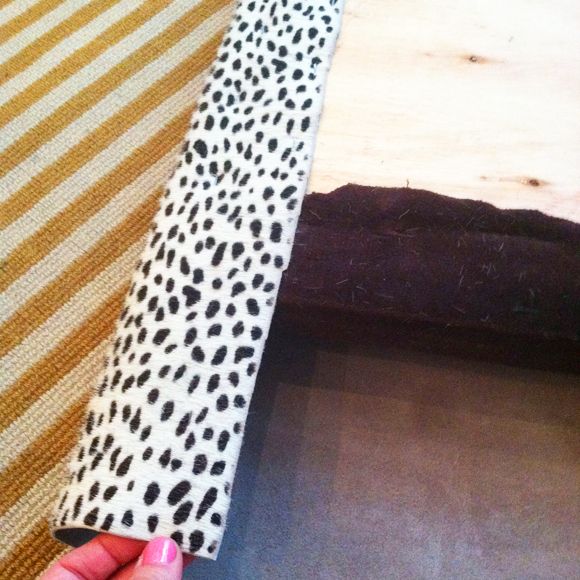
I like to stagger staples in two lines, one about an inch set in from the edge and the second line running along the inside edge of the fabric.
 Once all four edges have been stapled (don't forget to pull very tight!), it's time to tackle the corners. There are a few different ways to approach corners, but this way there are almost no folds or bunching (which is tricky especially with thicker fabric and leathers).
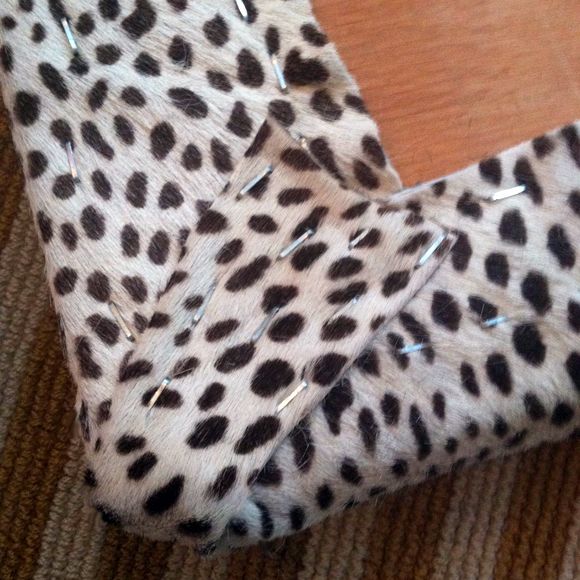
 You just bring the fabric or leather together in the corner and run staples in lines on either side of the fabric, at a 45 degree angle. Leave about an inch or so loose without staples near the outside edge of the corner.
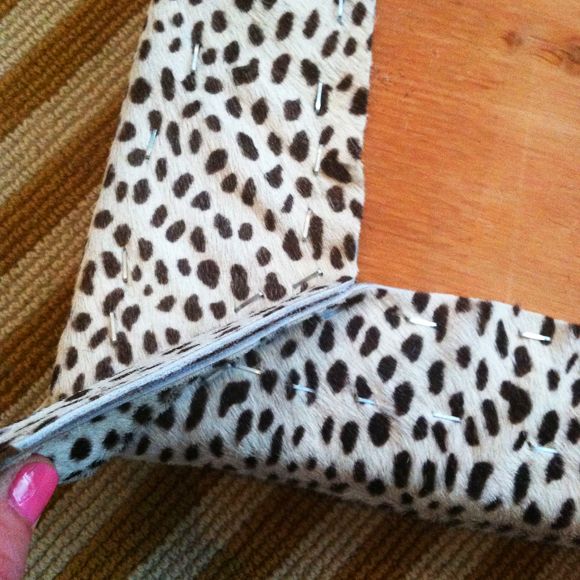 Using heavy duty scissors, cut the fabric or leather very close to the staples, but stop cutting right at the corner.
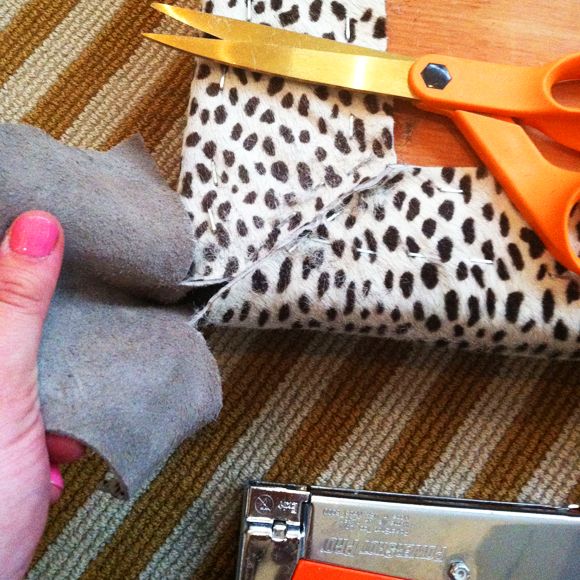
Then trim the edges down so that the flap still connected to the corner is about two inches wide.
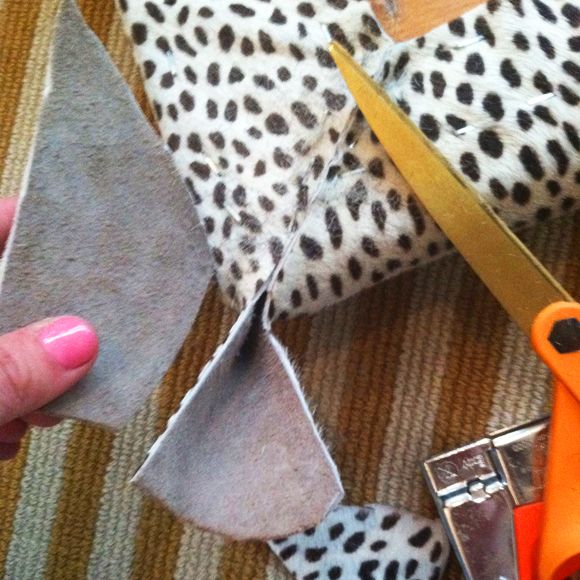 Then pull the flap very tight and lay it down and staple it on top of the other staples you put in at a 45 degree angle.
 If you have been pulling tight the whole time, the flap will lay very flat and the corner will be very smooth and professional looking.
All finished! I love this spotted hide so much more than the taupe velvet.
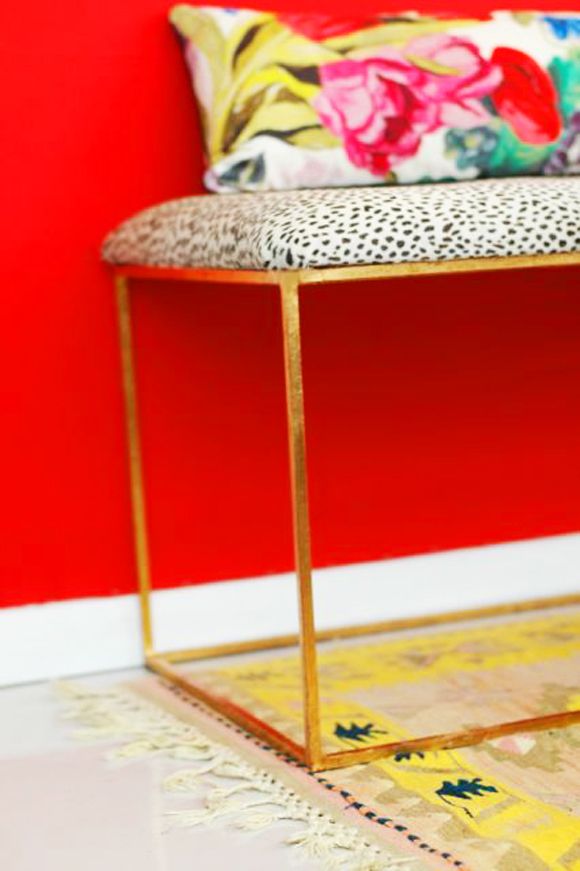
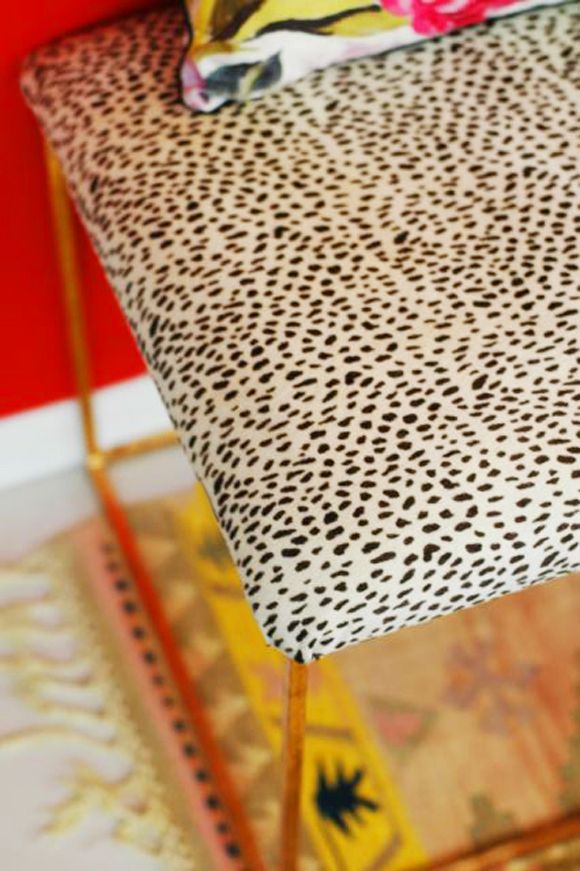
See just the two tiny folds on either side of the corner? If I had just pulled and stapled around the corners like most upholstery jobs call for, there would be all sorts of bunching and really heavy-looking corners. This method makes the fabric lay almost as flat as sewing the corners (which is a pain to me).
 PS The winner for the Jessie Mackay painting give away was chosen and she was emailed, so please check your inboxes! As soon as I hear back from her I'll update the post. Thanks for entering!
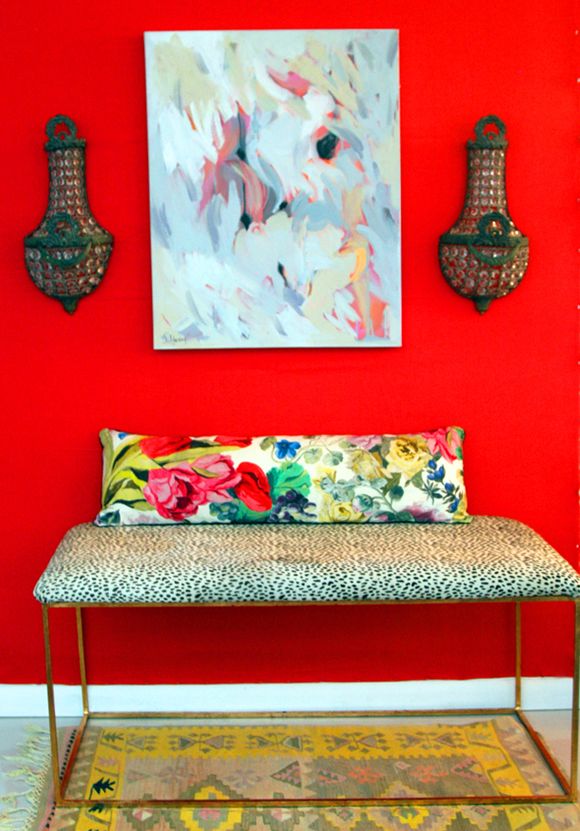


I absolutely adore this bench! The end product is fabulous!
ReplyDeleteI am obsessed with this bench and your corner method!! That is such a great way to not have any folding on the edges...thanks for sharing!!
ReplyDeleteXoXo,
Dominique @ http://comfycozycouture.blogspot.com
This comment has been removed by the author.
ReplyDeleteThank you for this post Jenny! I've had on my DIY projects to make a bench from a coffee table and love your fabric choice and simple steps to make it look beautiful!
ReplyDeletesimplesurber.com
Jenny-
ReplyDeleteNow I want a bench just like that!
I love how you cut corners....perfectly!!!!
pve
So beautiful… I love this bench, that fabric, that pillow! Perfection :)
ReplyDeleteLooks great, Jenny! I've been doing a lot of reupholstery lately too and the corners are always trickiest. I'm making a couple of x-leg stools now and think I am going to have to bite the bullet and sew the edges on this one!
ReplyDeleteThis bench is HOT!! LOVE it and what a great tutorial!
ReplyDeleteGreat looking bench. I always wondered how to do this with thicker fabrics. I am always recovering something and stayed away from thick fabrics...now I won't. Thanks.
ReplyDeleteGorgeous! Thanks for the amazing tutorial! Now I just need to find the perfect bench to recover - and some of that amazing fabric! :)
ReplyDeleteThanks Jenny for sharing this method for handling my arch nemesis--corners!
ReplyDeleteFabulous bench, Jenny! Thanks for the great tip!
ReplyDeleteGorgeous! Pinning!
ReplyDeleteIt turned out great!
ReplyDeleteThis is a great way to deal with heavy fabrics! The corners look beautiful! I just finished a bench reupholstery using linen.
ReplyDeletehttp://lekaliainteriors.blogspot.com/2012/07/x-bench-transformation-before-after.html
That looks really amazing! Thanks for sharing! I think I need some spotted fabric....
ReplyDeleteThanks for the tutorial! I always fold the corner piece in first then wrap the end pieces around and staple, if that make sense (your method but backwards). The way you do it leaves a smoother corner. I'll try it next time! Also, loving the spotted hide. I've been eying all my benches, food stools to find a place to use it!
ReplyDeleteThanks for this trick! This seems easy enough - even for me!
ReplyDeleteI love that bench!
ReplyDeleteLove the bench! Such a good tip too. And the scissors look marvelous!
ReplyDeleteBeautiful! Where did that pillow come from? It's is perfect too.
ReplyDeleteI NEED that nail polish color!! What is it? You always have the best nail colors. Off to try to paint mine before nap time ends...
ReplyDeleteBrilliant! That was just Brilliant! and I love it.
ReplyDeletethat bench (and PILLOW!!) are amazing. i am beyond excited for the painting! AH! thank you!
ReplyDeletexx
jamie
Thank you so much for this post. I am going to cover some square stools and I need all the pointers I can get!
ReplyDeleteYou can actually get an even cleaner edge using a variation of this method. Push (what you have as) the outside fold in, and lay (what you have as) the inside two folds on the outside so that they meet each other. Then you have a nice sharp corner. (I learned this from making canvases)
ReplyDeleteOnly think of furniture with gold, I loved
ReplyDeleteWhat a sassy little bench! I love the way you handled the corner to avoid a big bump underneath! I love throwing a bit of B+W into a room to stir up the design!
ReplyDeleteAmy
http://www.etsy.com/shop/FallenWalnut
What a sassy little bench! I love the way you handled the corner to avoid a big bump underneath! I love throwing a bit of B+W into a room to stir up the design!
ReplyDeleteAmy
http://www.etsy.com/shop/FallenWalnut
Great tutorial! You have a great way of explaining things! Will definitely bookmark this for future use!
ReplyDeleteJoanne @ Homestyling101
Thanks for the tip!
ReplyDeleteI also love my FISKARS. :)
love this!
ReplyDeleteThanks guys! This was a fun and easy project!
ReplyDeleteThe pillow is Designer's Guild Orangerie fabric. I posted about it here:
http://littlegreennotebook.blogspot.com/2011/04/layering-floral-pillows.html
xxoo
Beautiful and practical. Thanks for the floral fabric info as well. I knew you had shown it before but I could not find the post.
ReplyDeletelove this! Where did you find the spotted leather fabric? i am in love.
ReplyDeleteGreat tutorial but even greater vignette, seriously gorgeous!
ReplyDeleteGreat idea to deal with those troublesome corners! Do you know the name of the cushion fabric? I have been looking for it for ages.
ReplyDeletelyne.dianne@bigpond.com
callwe24supportWe resolve every issue arising with your computer/laptop operating system, Windows,software,internet security, registry settings,sound drivers,etc in one call.
ReplyDeletethis is seriously one of my favorite projects you've ever done. I just love the transformation and that something this amazing can be done as a DIY with a thrifted find!
ReplyDelete