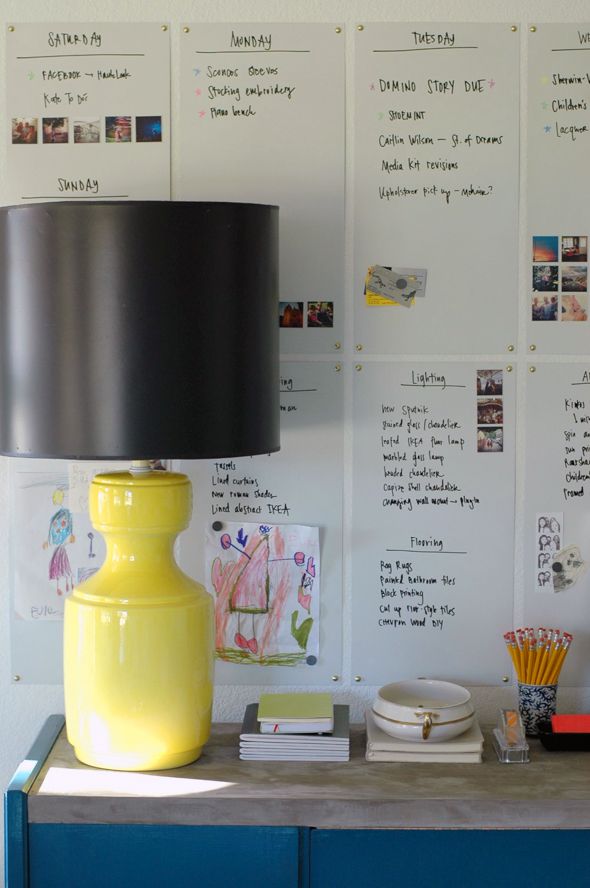
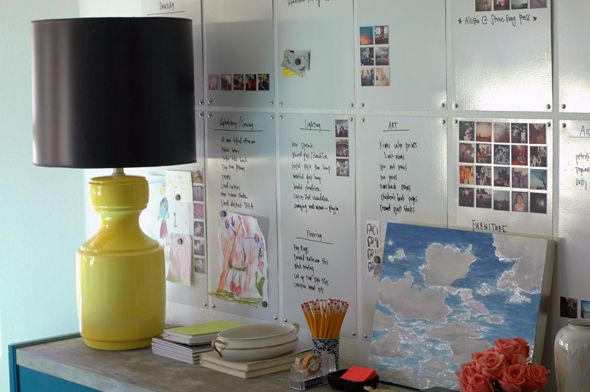
I've always heard that it's really important to have your goals written in a place where you'll see them often. I thought it would be great to have a big wall in my office dedicated to ideas and goals and to-do's. I thought of a chalkboard wall first, but I liked the idea of a big and bright white board. White boards are a little easier to write on and clean up anyway.
You can make any flat surface (including walls) a white board, but I wanted a magnetic surface and I wanted to be able to customize the size of the board. I brought a magnet with me to the sheet metal section of my hardware store and figured out it's important to get galvanized sheet metal or zinc. Aluminum is not magnetic.
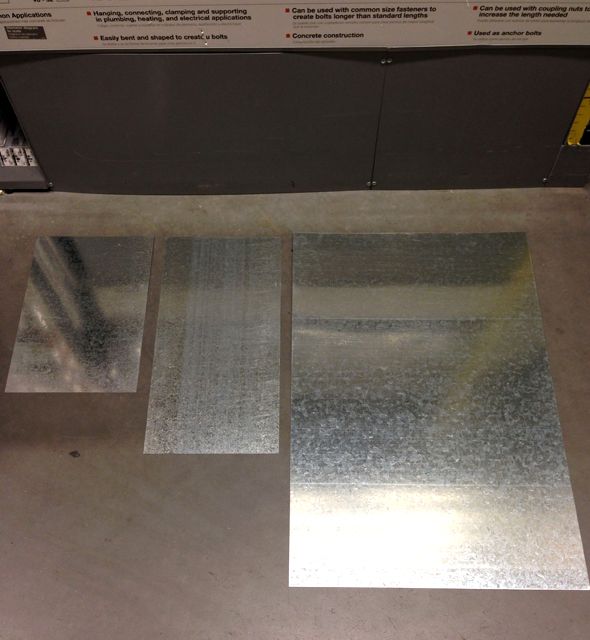
I decided on these 12x18" sheets for my project. I think they were about $5 or $6 each.
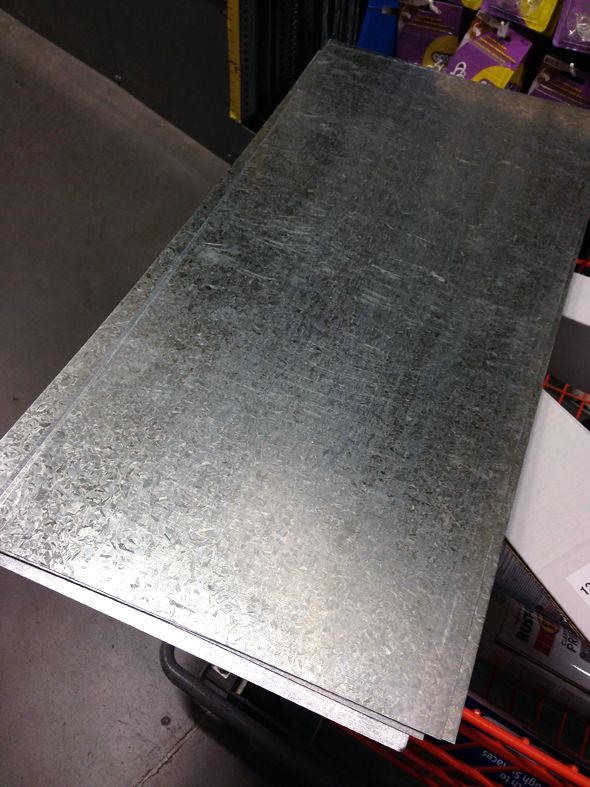
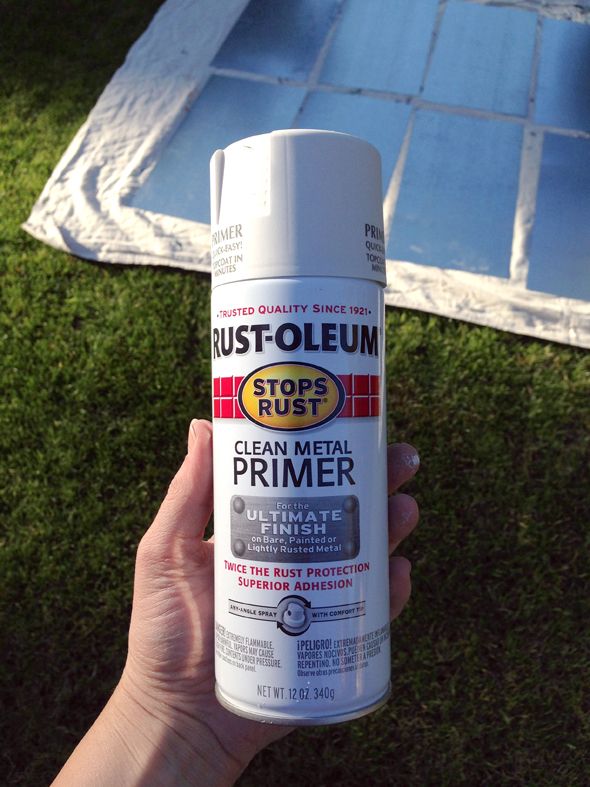
It helps the dry erase/white board paint to stick if you use a good primer on the sheet metal first. I love this spray primer from Rustoleum that's formulated especially for metal (Kilz has an all-purpose spray primer that's great for metal too, but it goes on a little thicker).
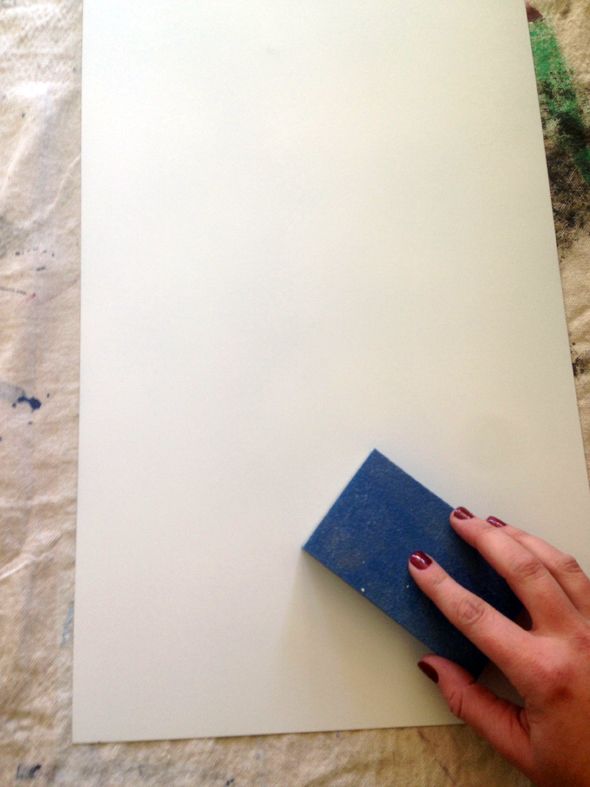
I let the spray primer dry over night and the next day I gave everything a really light sanding and a good wipe down.
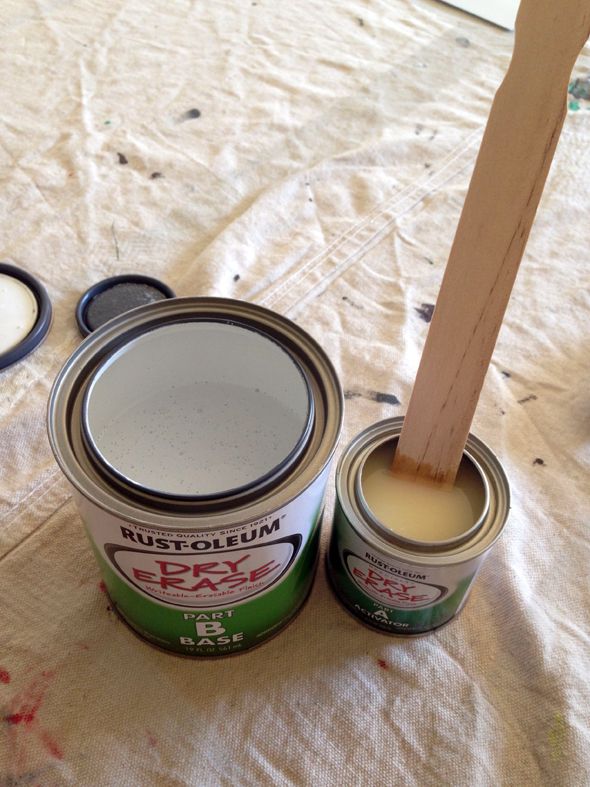
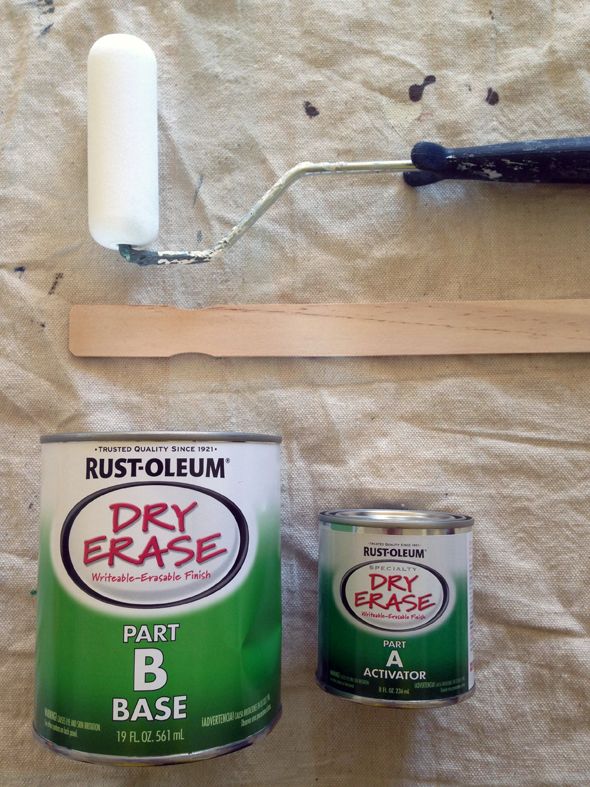
The Dry Erase paint comes in a little box with two parts to mix together.
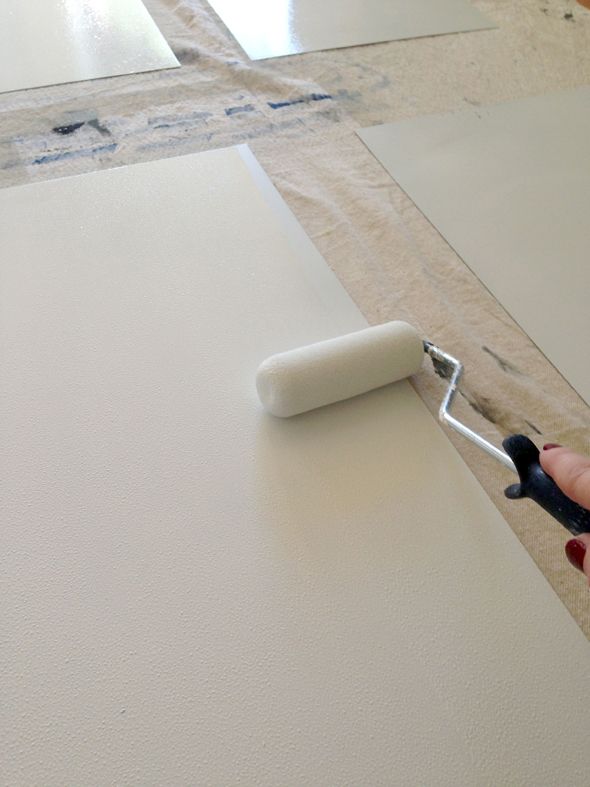
You'll want a new foam roller to apply the paint too, so everything's as smooth as possible.
I did two or maybe even three coats of the paint to make sure everything was really covered and smooth. There might be little air bubbles at first, but just leave them alone and they'll smooth out.
It takes a little work to get a nail through sheet metal, and it's much easier to do that while the sheet metal is laying flat on the ground. So after the little white boards were dry, I made holes in the corners of the sheet metal pieces using the sharpest nails I had on hand and a scrap piece of wood.
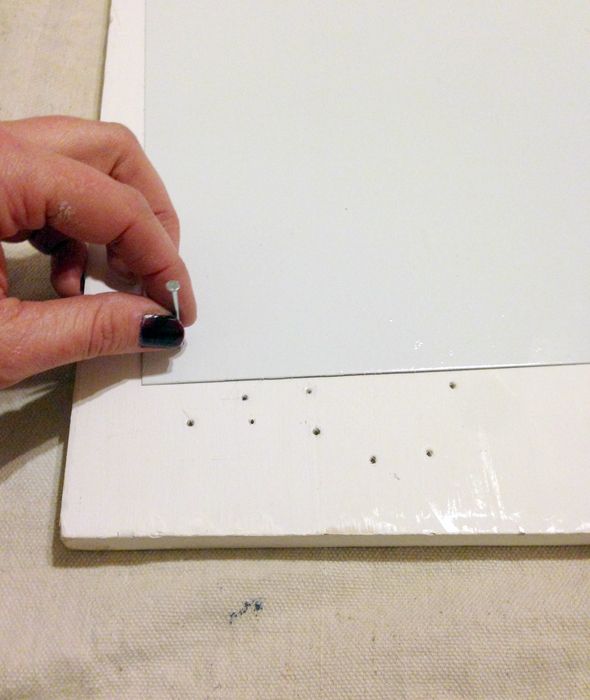
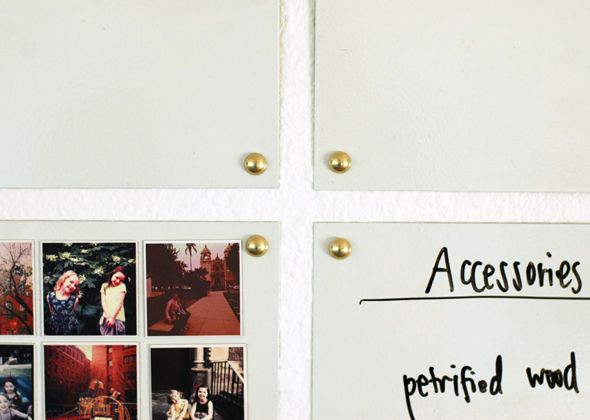
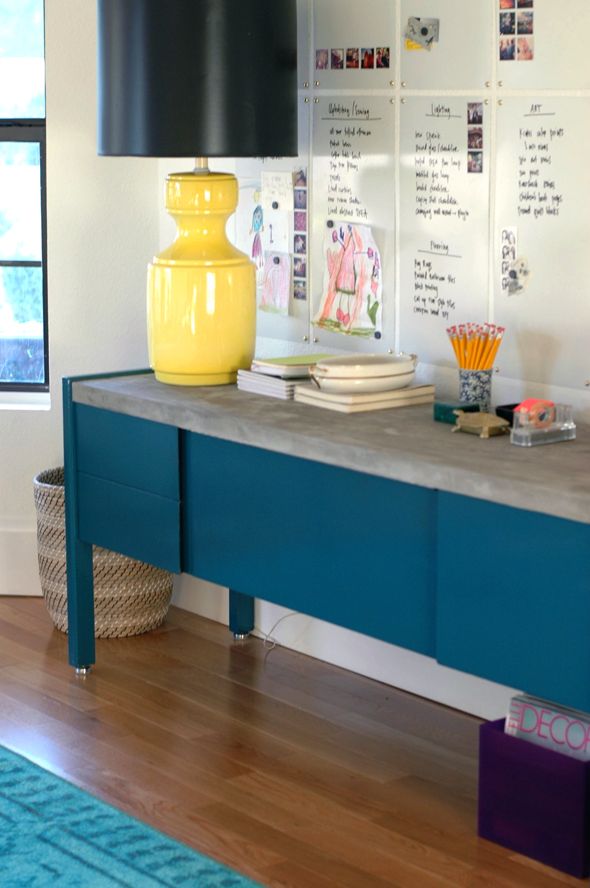
Having the holes done beforehand made all the difference and it was so easy to just hold up the sheets in the right place with one hand while tapping in my brass upholstery nails with the other.

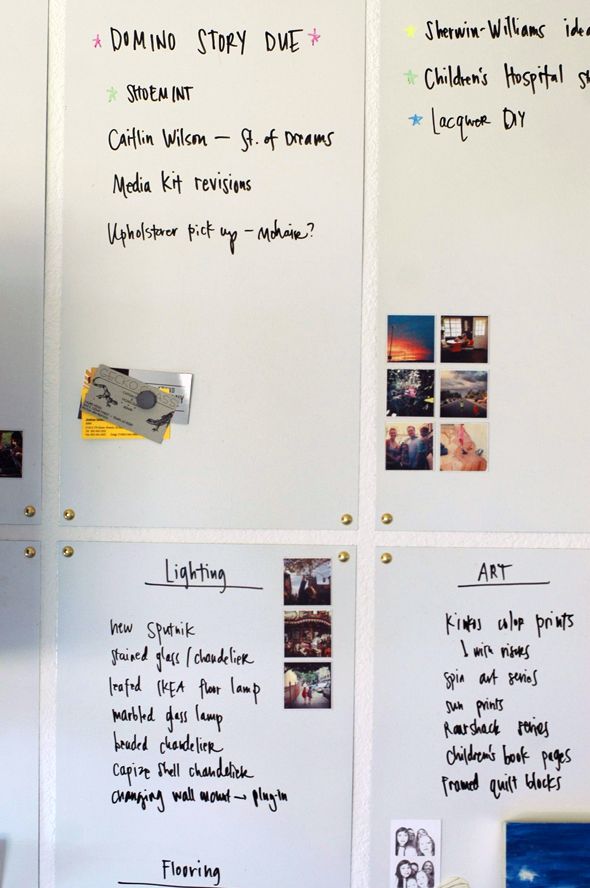
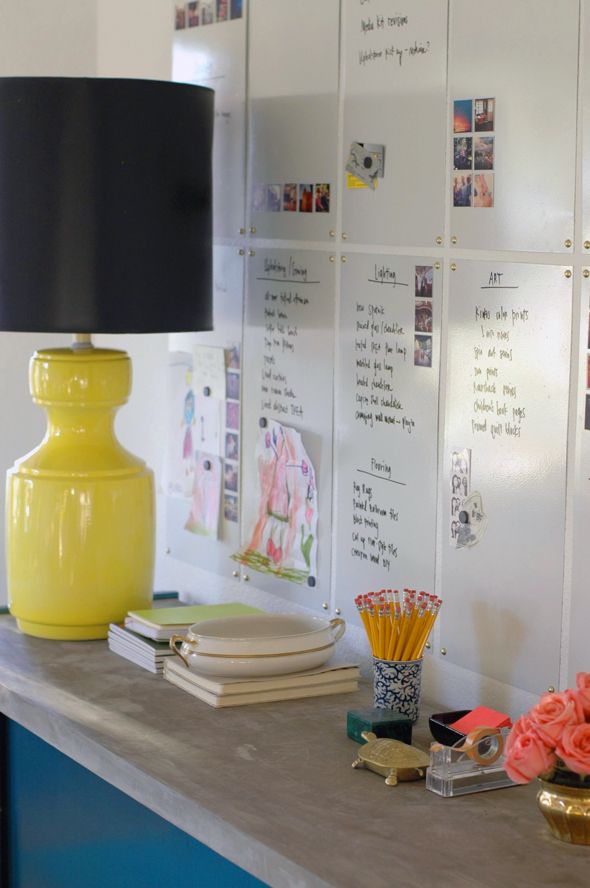
The boards are super smooth and are easy to write on and erase, just like any white board you'd buy at the store. I will say that colorful dry erase markers usually need a cleaning solution to completely erase, but I think that's the case with store-bought white boards too. Those markers are just a bit stubborn.
I keep all of my markers in this pretty little gilded soup tureen I got at a flea market in Brussels.
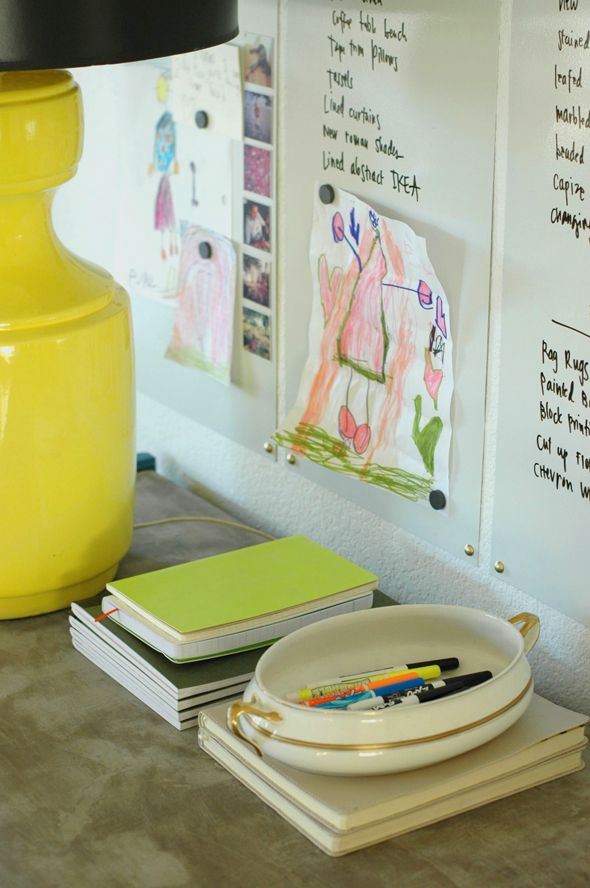
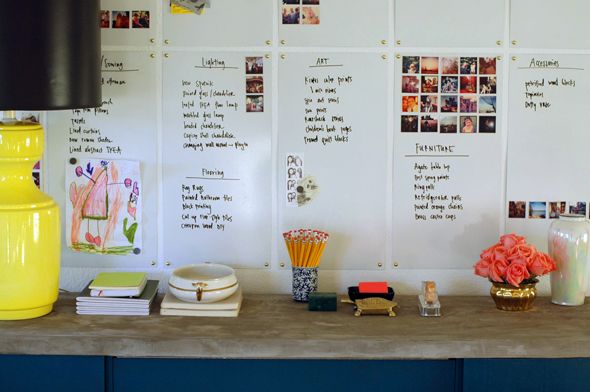
It was so worth it to go the extra mile to make my white boards magnetic. I have my Sticky Gram collection on the boards (which I think helps break up the sea of white) as well as a few other rogue magnets. The girls love to come in and hang up their latest masterpieces for me. Sweet kids.
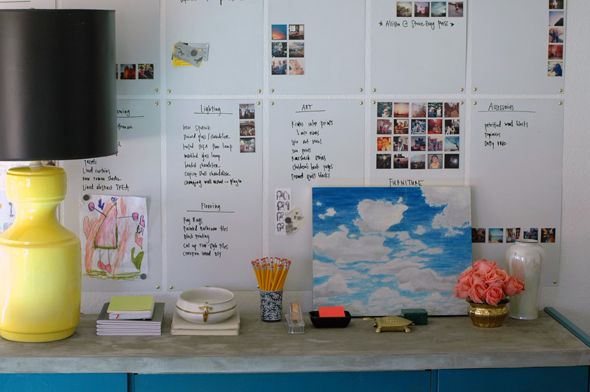
So I think we spent about $80 for this project, between the six sheets of zinc, primer, dry erase paint, new roller and upholstery tacks. More than a typical 16x20 board from Target or whatever, but I love how much visual space the series of boards takes up in my big office. It fits the scale of the room much beeter this way. And of course functionally, I really love having a place to keep ideas that won't get buried on my computer or accidentally thrown away on a sheet of paper. Having big plans written up here helps me at least feel a lot more organized, which I'm learning is half the battle. :)
Hi Jenny! Question for you: I was under the impression that most spray paint (even the Rust-oleum metal primers) aren't meant to be used on galvanized metal. Since you recommended it for its magnetism, I was wondering if you've ever tried spray-painting it.
ReplyDeleteFabulous. I always find inspiration from you- youre the best! This is a fabulous idea. We never have enough memo/white board idea/ planning space in our studio and this is the perfect space. Great for project managing clients too. Thanks Jen! xo Nancy
ReplyDeleteGreat idea! I love the idea of having goals set out in the open so you're constantly reminded. I'm in the process of doing some pin boards on closet doors in my office. any tips?
ReplyDeleteCurious why you rolled and didn't use the critter....did the roller texture "flatten out"?
ReplyDeleteHi Jenny.
ReplyDeleteThose look perfect. I'm glad to know there is paint to make these. I've painted the metal sheets with chalk board but didn't think to make a white board. Great project!
its a great idea!!! may i share it in my blog?
ReplyDeletei was thinking of doing a similar project for my daughter's closet door so she can play with magnetic abc's and paper dolls. thanks for the galvanized metal tip.
ReplyDeletei was also wondering if you could give us an update on how your spray painted vinyl desk chair is holding. i scored some great dining chairs with vinyl seats in perfect condition...but i'm a little nervous to paint them.
thanks!
This post comes at the perfect time for me! I am in the middle of organizing my office and I was looking for a tutorial on your dry erase boards! Thank you so much for posting it! I can't wait to give it a try! :0)
ReplyDeleteHI Stephanie - I hadn't heard that about painting galvanized metal. It covered really well and is holding up just fine! So no complaints here!
ReplyDeleteROK - The dry erase paint instructions recommend using a foam roller. The Critter is super easy to use, but it's still easier to roll or brush! :)
Hi Ashley - The vinyl chair is holding up great! No complaints here! It does take some time for the paint to really dry out and cure. It will feel slightly tacky for a few weeks maybe? But if the choice is reupholstering or not using, I think the spray paint is a really really great option!
xo
This is such a cute idea!!
ReplyDeleteThis is a great idea as I'm just starting to collect ideas for my home office. Hope your elbow is feeling better!
ReplyDeleteLong ago, in a faraway place, my ex's father told me that a black dry erase marker will always act as a solution to clean stubborn dry erase marks. You literally mark over an old dry erase stain with the black marker and then wipe it away and both the black marker and the old stain go away. It's magical.
ReplyDeleteI love this! I've seen the dry erase paint before and was anxious to try it, but never have as we rent our apartment. Your idea is great for renters, so maybe I'll have to give it a go!
ReplyDeleteThis is just what I need in my office! Love it!
ReplyDeleteA timely tutorial, thank you Jenny! I have found that when I used a whiteboard cleaner on a regular basis, the surface became more conditioned and much easier to erase colors.
ReplyDeleteI love this! It might have been more expensive than one from a store, but it's so much more aesthetically pleasing!
ReplyDelete- Michelle
www.ahealthymrs.com
Looking forward to do this with my roomies, thanks!
ReplyDeleteYou always come up with the best projects. Love this!
ReplyDeleteBrilliant. I've been thinking about this wall since your last post on it, thank you for sharing the step by step!
ReplyDeleteI love this! I hope your arm is feeling much better-- I was surprised/disappointed at how achy my hand was for a long time after breaking it last year and hope you'll have a better experience.
ReplyDeleteI love this idea!! I hope it can keep me organized and inspired. I hope you don't mind but I posted about this article with a link back to your original article over on my blog: http://www.pique-my-interest.com/2014/01/diy-white-board-wall-im-loving-this-diy.html
ReplyDeleteHi Jenny,
ReplyDeleteI know it is a total off, but I'm desperate.
Question about your shoe stretching technique. I've got a pair of patent leather flats by Roger Vivier and they are a bit tight, but I'm afraid to use hot air on them. So my question is... have you ever used hot air on patent shoes?
HUGE thank you in advance.
Marina - yup! Works on patent leather too! If they're only a little bit tight, don't use super thick socks like I did. You can always do another round if they're not stretched out enough after the first try. xo
ReplyDeleteWhoa. This is amazing!! I definitely need these in my office. Thanks for this awesome tutorial.
ReplyDeleteI'd like a long term post on how your wall holds up in a few months. Reason being I've had the same product on my wall as a dry erase surface and it's stained quite a bit after five months. However it did work great initially. I ended up picking up Drawitpaint Dry erase clear since they guaranteed the wipe. I love the galvanized steel sheets as a base though. That's a great idea!
ReplyDelete