
This mirror has had a prominent place in our past couple homes - I love its unique shape.
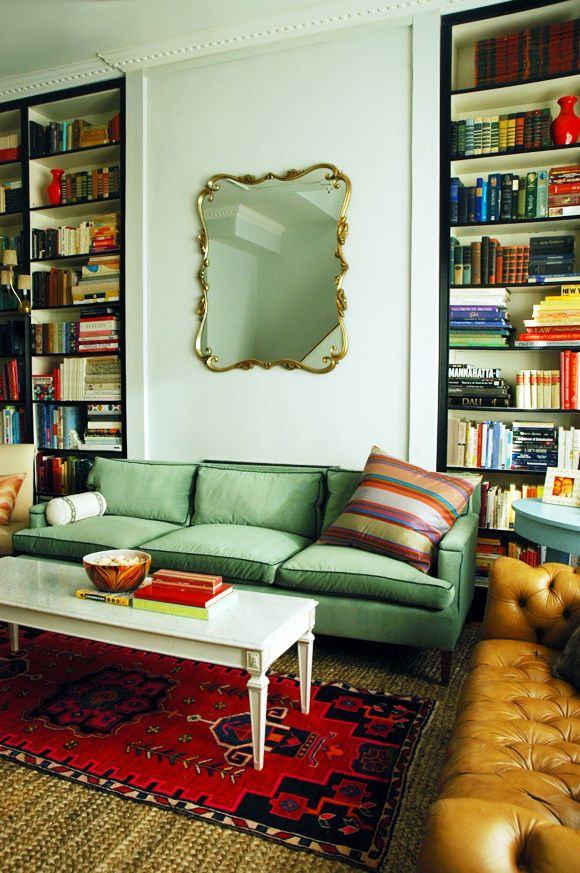
The movers accidentally knocked it over when they were loading the truck in Brooklyn. Luckily, there was no damage to the brass frame or to the composite wood backing.
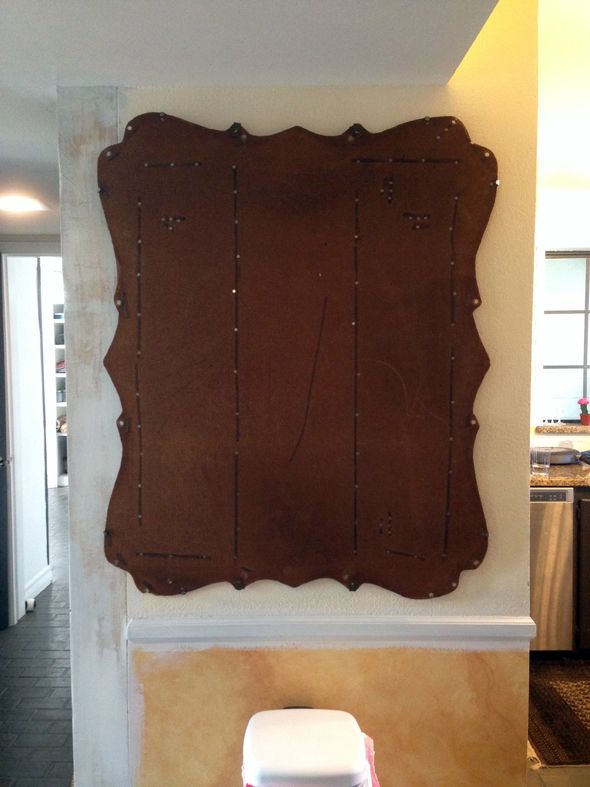
I can always go and get more mirror cut, but I wanted a chalkboard in our kitchen and this spot over the garbage cans was that perfect place. The frame just barely fit, so I was worried a traditional black chalkboard would be too dark for the space. My sister reminded me I could custom mix chalkboard paint colors, and there was no looking back!

Here's how we turned my old mirror into a chalkboard:
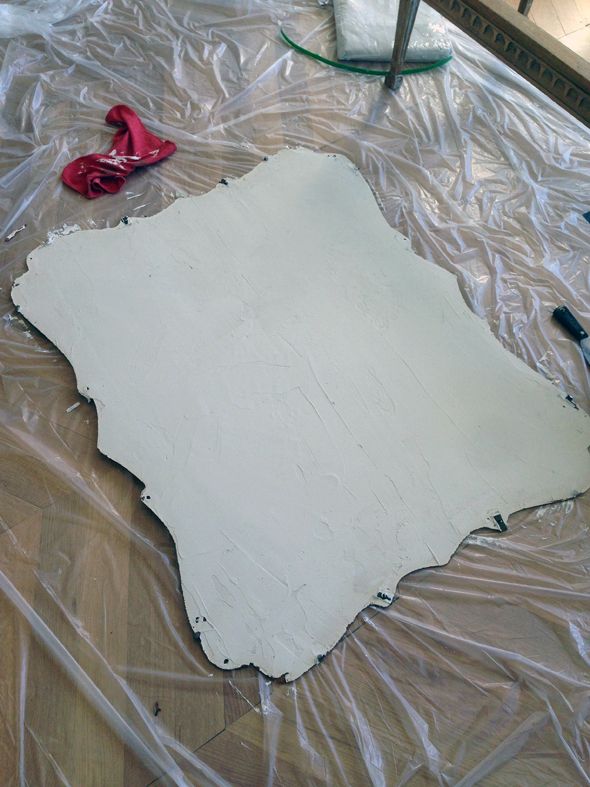
The backing board was in good shape so we just needed to trowel on joint compound to create a new, smooth surface to paint.
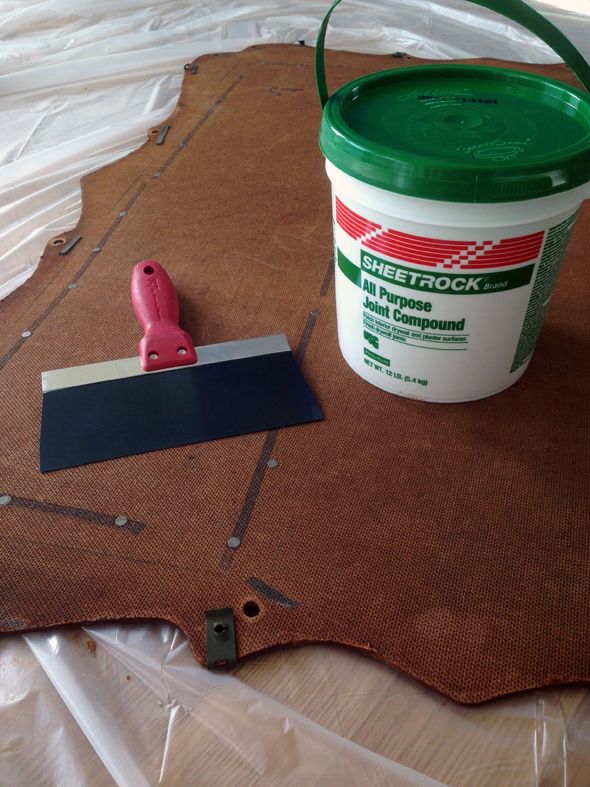
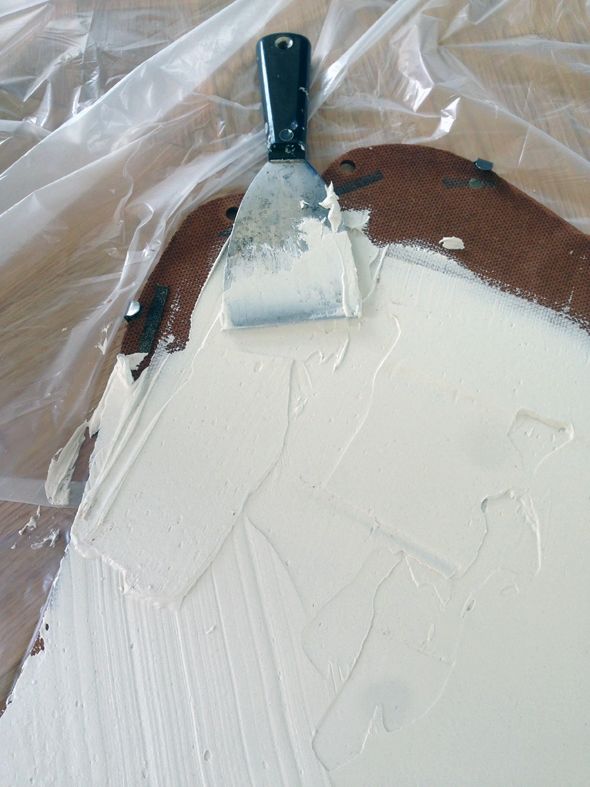
It's just like frosting a cake, but significantly less tasty.
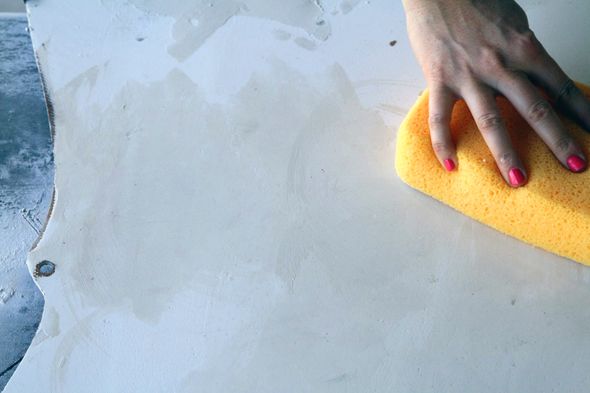
One of my readers gave me this tip for smoothing joint compound. Rather than sanding the dried compound (which is an unbelievably dusty undertaking) using a damp grout sponge and "wet sand" the compound by smoothing it with the sponge. It is SO easy to get a silky finish this way, and there's absolutely zero dust. Works great on walls and for small applications like this one.
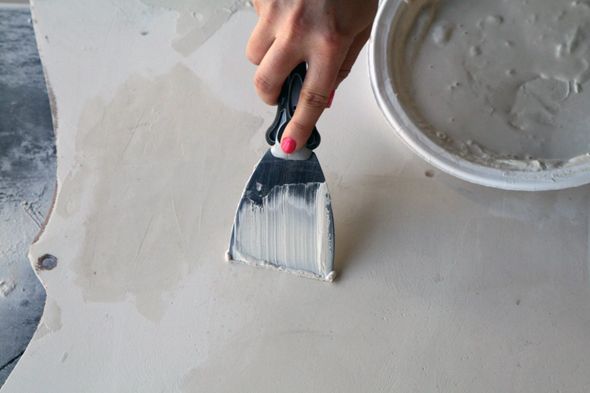
If you have any air bubbles or spots that need touch ups, I like to water down the joint compound a lot. It's easier to put on a small amount when the compound mixture is thin.
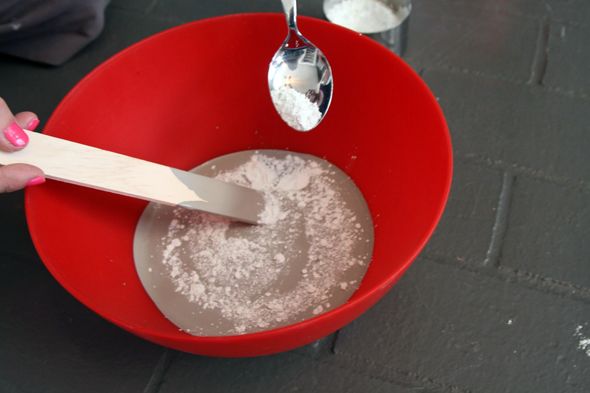
After the joint compound is completely dry (maybe wait an entire day or two?), it's a good idea to give the surface a coat of primer (like Zinsser) before painting on the chalkboard paint. Then to make your own chalkboard paint color, you just need a bag of unsanded grout, which you can find at any hardware store, and a bit of regular latex paint in any color you want.

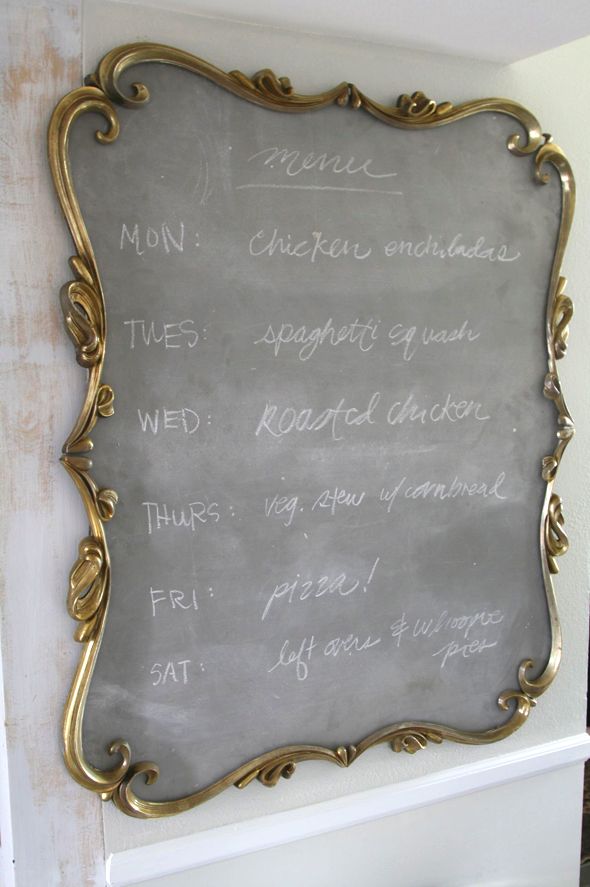
I wanted my chalkboard to be a medium gray, so I mixed some Chelsea Gray and some Brushed Aluminum together until I got about what I wanted. To make the regular paint chalkboard paint, I added two tablespoons of the unsanded grout for every cup of paint. It's important to mix the grout in really well - clumps are no good here! An old whisk works great.
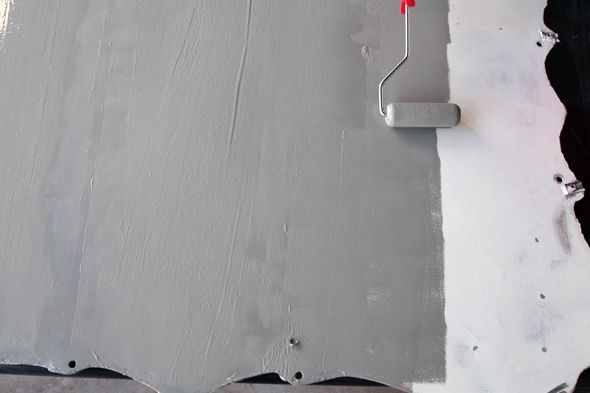
I gave my primed backing board two good coats of my custom chalkboard paint using a foam roller.
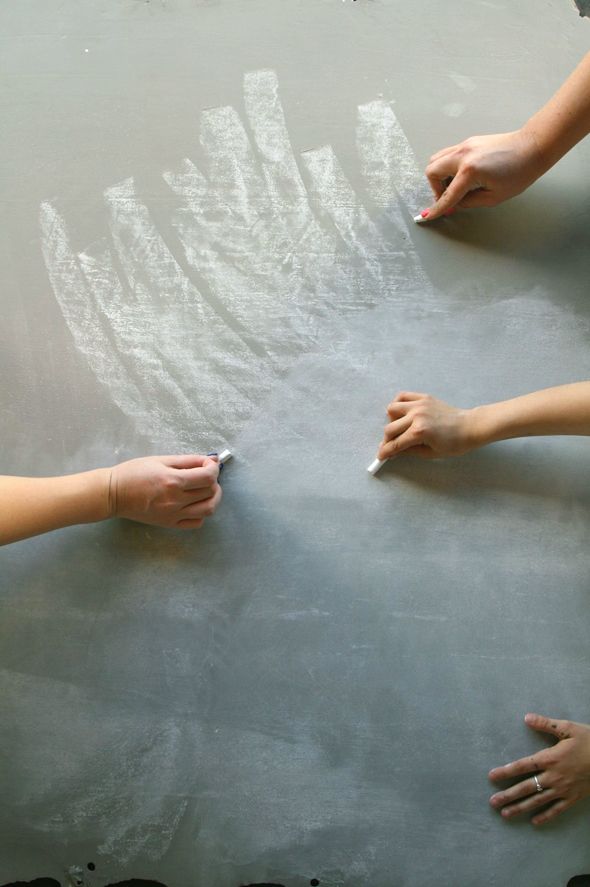
Once the paint was totally dry (only about ten seconds later in the AZ heat!), I smoothed out any bumps in the paint with a fine grit sanding block. Then Heather and Gracie helped me condition the chalkboard surface by rubbing the entire surface with chalk. This helps make the chalkboard more easy to erase - the chalk sits on top of chalk rather than getting into the pores of the painted surface.
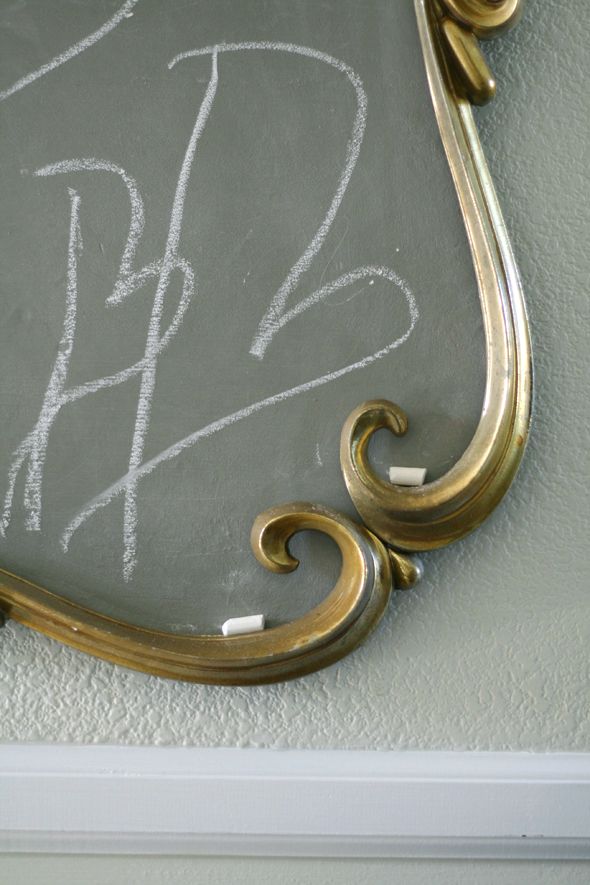
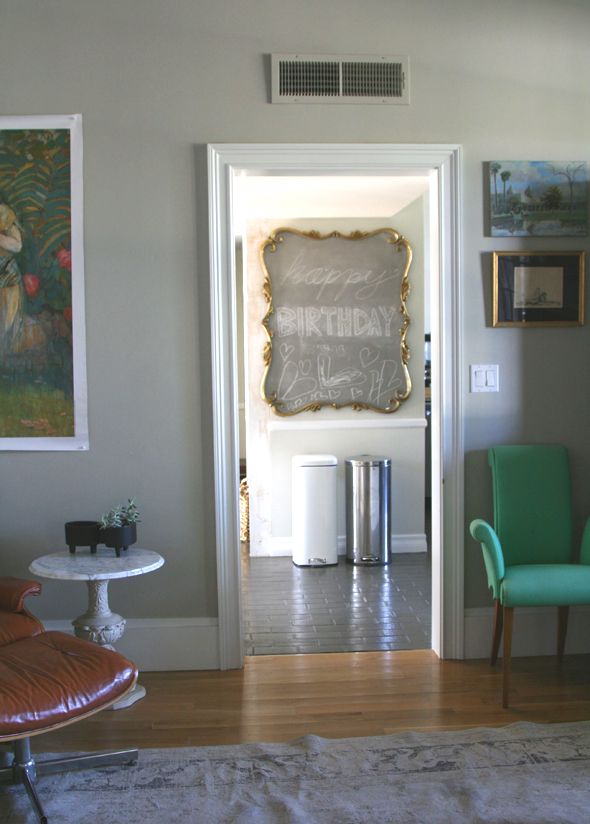
We put the frame back together (there are eight individually cast scrolls!) and hung it up in the kitchen. I love having a place to write up a weekly menu.
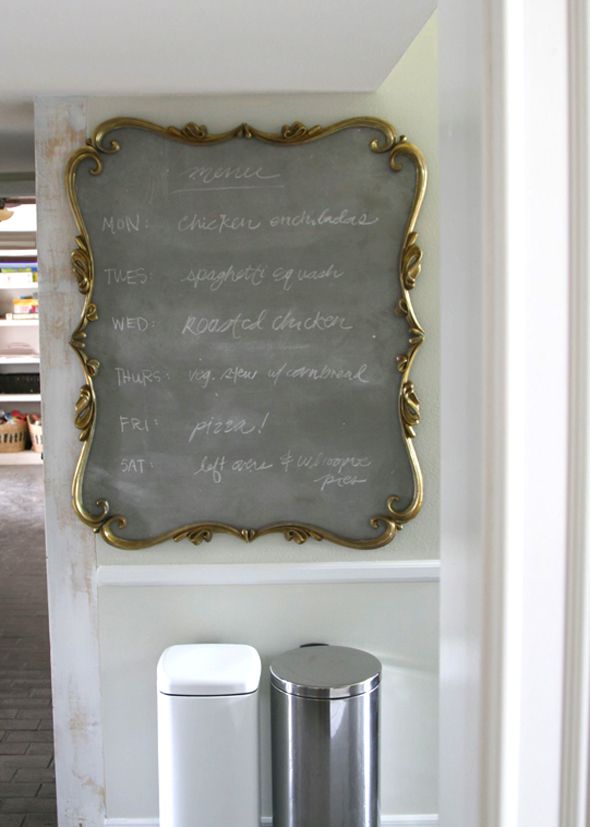
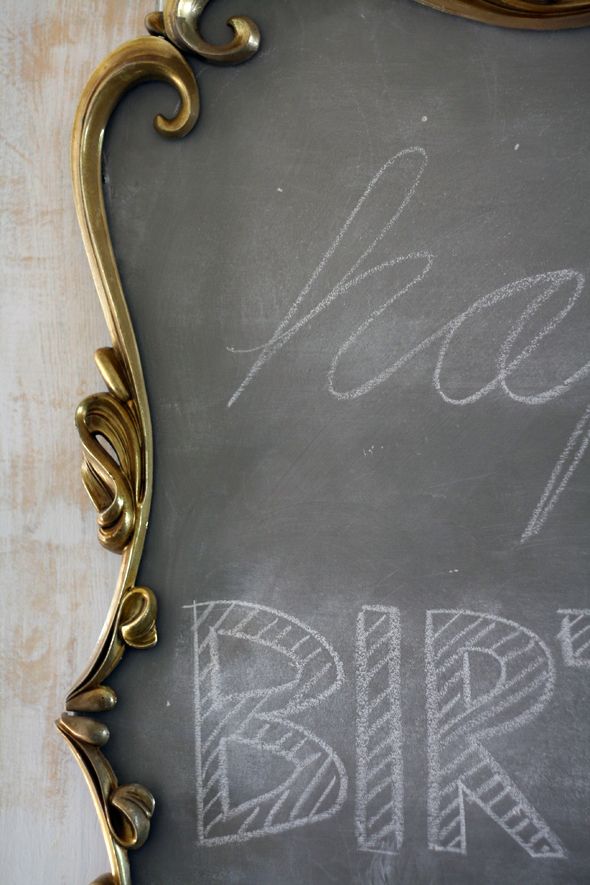
It's a fun place for the girls to doodle, too. Last night we had a lot of our extended family over for a dinner party to celebrate Michael's mom's birthday and the girls decorated the chalkboard for the party.
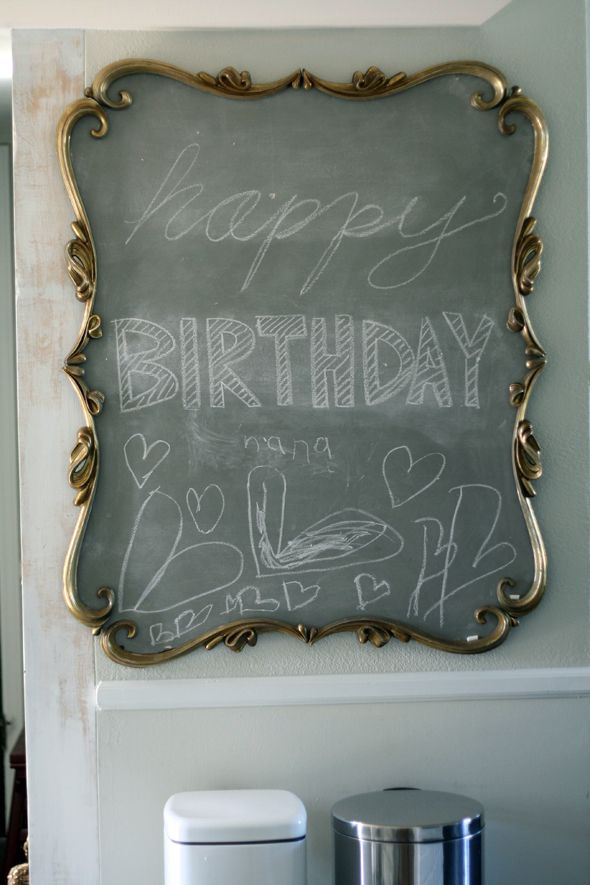
It's a little big for the wall there, but I still love it. I have lots of art hanging in our kitchen right now (to make up for the current lack of shelving) and I like how the chalkboard is a part of that. It all sort of works well together.
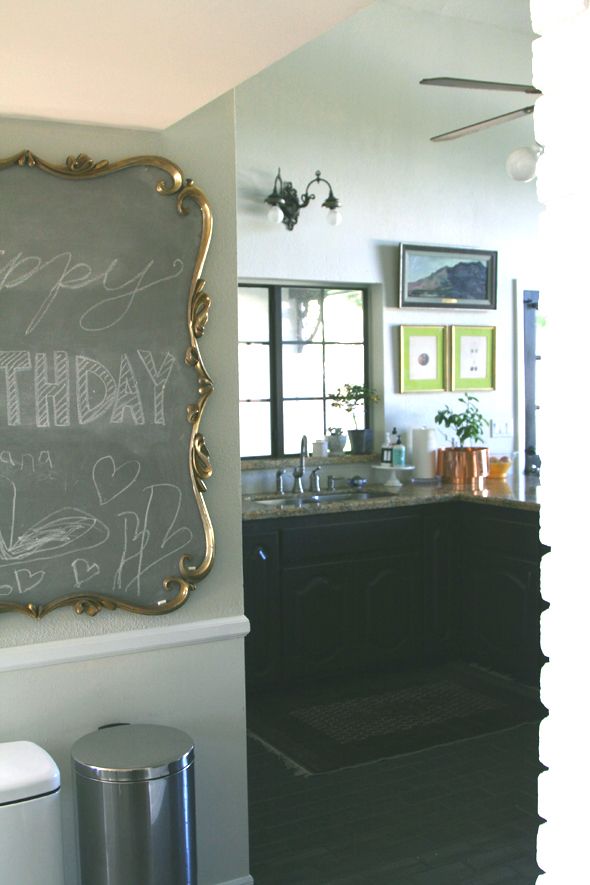
And I think the gray is a little more subtle than black would have been. Since I used half Brushed Aluminum, which is the wall color in the living room, I think the chalkboard doesn't feel too imposing, even though it is huge on that tiny wall. :)
Great idea on making your own Chalkboard paint! I recently did it in our office bit but bought the one from Rustoleum instead, will keep this in mind next time!
ReplyDeletewhat a great idea for Chalkboard paint! Also, I'm looking for a rug exactly like the striped one in your first photo, would you mind telling me where you found that rug?! Thanks!
ReplyDeletethat mirror frame is really elegant. been looking for such an amazing find :)
ReplyDeleteChalkboard is an amazing idea too though!
Proud florist of New Jersey, USA.
www.europeanpetals.com
That looks AMAZING! Great idea - and love that mirror.
ReplyDeleteThat frame is just about the best thing ever! I'm glad you found a way to repurpose it for your current home. Looks so great as a chalkboard!
ReplyDeleteI like your white trash can and I'm in the market. Where's it from, pls? Does it get more dirty than your stainless one or less? Thanks!
ReplyDeleteThat frame is gorgeous. So glad the frame wasn't damaged too! And wet sanding the compound - just brilliant! I'll have to keep that tip in mind for small patches.
ReplyDeleteIt looks so good. I like how oversized it is on the wall. It's neutral, so it's there but not screaming at you. :)
ReplyDeleteThanks for sharing! I love taking things like that awesome mirror and making them into something new! So sorry to hear you had to lose that beauty in the process!
ReplyDeleteSorry about the mirror. But the frame is so beautiful I would hang it on the wall by itself (with nothing in it).
ReplyDelete~Ana Smith | End of Tenancy Cleaners Brixton
It is a beaut! And I love the color AND the scale for that spot. Spaghetti squash...yum!
ReplyDeleteFabulous and inspiring as usual:) I especially LOVE the picture with the tiny chunks of chalk sitting on the scrolls- so perfect!
ReplyDeleteI love it there!! It one of the prettiest ways I've seen people make lemonade from lemons, and that frame is on my hunt list…!
ReplyDeleteI actually found the exact mirror at a estate sale for $12. Great find!
ReplyDeleteI love that you went with a lighter color and made you're own! The extra pop/dazzle from the frame is stellar!
ReplyDeletewhat you did with this mirror is asbolutely lovely!
ReplyDeleteIt looks wonderful! I love the oversized nature, I think it fits perfectly!
ReplyDeletexo
Christa
www.gardeniasandmint.wordpress.com
I love it! I have a menu board in my kitchen and love it-I may make a second board with tinted paint now, such a great idea!
ReplyDeleteI second the trash can question.
ReplyDeletePanda bear, the rug was a bound remnant I got in the ABC clearance basement in NYC. I did a post about it and there's info on how to by more. Maybe search for yellow striped rug ABC or something? xo
ReplyDeleteElizabeth and Eva - the white (and the stainless) can is from Homegoods! Both are great and were really affordable - like $20 or something? xo
ReplyDeleteIt is so lovely and so vintage chic.
ReplyDeletelaura
That was a beautiful mirror and now it's a beautiful chalkboard. It's all about making lemonade from lemons;DIY creativity is a wonderful thing!
ReplyDeleteOoooh! Did I miss the post on how you painted your kitchen floors? I found your blog by accident one day and noticed we have nearly identical floors. Mine is in the study and it is broken brick flooring. I despise it but don't really want to have it jackhammered up. It's an orangey-red and always looks dirty :( Can you point me in the direction of your blog post if I missed it? Also....how well/easy can you clean that floor now? I have a few littles running around here :)
ReplyDeleteThank you so much! I adore your blog!
xo
Perfect solution and looks awesome
ReplyDeleteRIP to your gorgeous mirror, but the chalkboard makeover looks beautiful! xx
ReplyDeleteI love it! The frame is fabulous and the custom paint color is perfect. First time commenter here… I have so enjoyed checking in over the last several years. I am also an interior designer (though currently not working) and you have inspired me to be a DIYer. Love your work.
ReplyDelete