The whole thing looked a little blah together though. Lots of yellowed paper and browny-black. I first thought about painting the pretty, ebonized frame a more interesting color, but I hated the idea of covering up the old black finish. So I decided to try one of my old tricks on the matting. It was fun to think back on this five year old (!) post - I still love the concept.
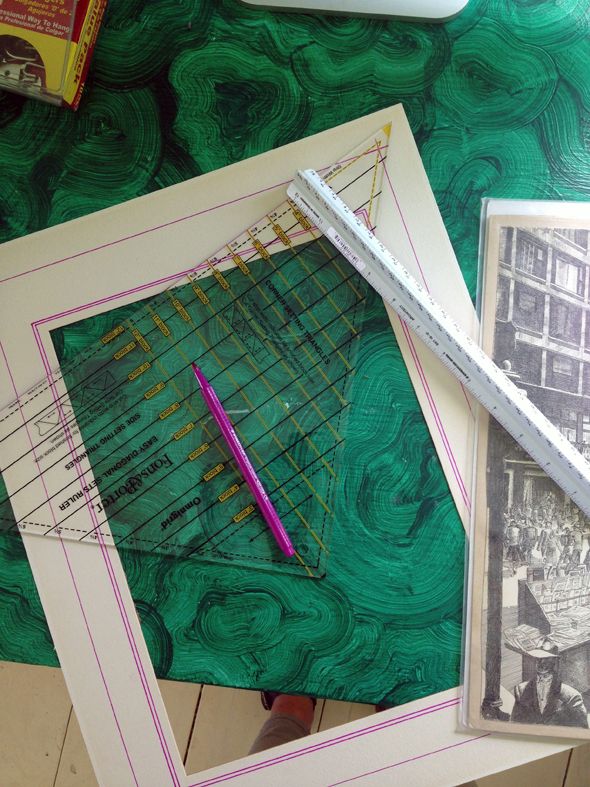
I kept it even simpler this time and instead of gluing down tape trim, I used just a felt-tip marker and a straight edge to add a little interest and color to the old, yellowing mat.
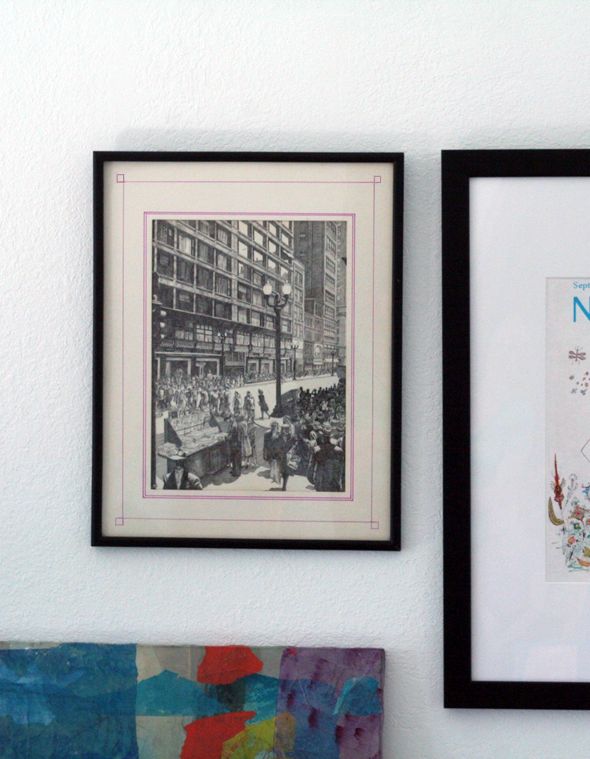
Using a clear ruler made all the difference here in keeping my lines pretty close to straight and evenly spaced. I'm crazy about how this turned out. Such an easy and effective way to bring in a little color without having to buy a new mat! I love a good two-minute DIY! :)
This is brilliant!! LOVE it!
ReplyDeleteThis comment has been removed by the author.
ReplyDeleteLove the little corners! Great idea!
ReplyDeleteVery pretty details! I really like the pink lines.
ReplyDeleteWow, I love this! And the clear ruler, why haven't I thought of that! I design logos and yesterday was working with my metal ruler; it's a pain! Def going out today to pick up a CLEAR one. I owe you!
ReplyDeleteYes, clear ruler...duh!? And the color and simple lines add just the right detail without overwhelming the charming print. As always...you are fantastic!
ReplyDeleteThis is adorable, and such a great idea to jazz up a basic mat. Going on my "need to do" list.
ReplyDeleteI ADORE this! Need to do it so badly for some of my art.
ReplyDeletex Lily
http://whilemyboyfriendsaway.blogspot.com/
Have you ever painted mats? I have and it works great. I used latex wall paint.
ReplyDeleteOooh, the malachite reacts so nicely with the pink! Nice shot.
ReplyDeleteI LOVE how your mat turned out! The ones you've done in the past are amazing. I need to do this on some of my frames now too.
ReplyDeleteThank you for all your great ideas! I have been following your blog for a long while now, but this is the first time I have made a comment. Thank you for the inspiration...
ReplyDeleteI know you are super busy so if any one else knows...I am just looking for a really great gold spray paint to paint a metal library cart. I know you have said which one you like best, but I can't seem to find it. Thank you so much!
This is a great idea to reuse an old mat.
ReplyDeleteI think you need to flip your mat though, so the widest margin is on the bottom. Right now the mat is wider at the top. =)
Looks so good!!!
ReplyDeleteWhere do you find your art?
ReplyDeleteLooks great! I love that you are so into adding color whenever you can. I recently spiced up a mat as well that I'll be posting about soon!
ReplyDeleteThis is SUCH a great, simple idea!! It adds such a modern feel and interest. Love it!!!
ReplyDeleteThese are gorgeous! Great idea!
ReplyDeletexo
Christa
www.gardeniasandmint.wordpress.com
Have you heard of Molly Mats? So CUTE!
ReplyDeletehttp://www.mollymats.com/
You might want to turn that mat right-side up ;) Sorry, i used to work at a frame shop and I have to point that out! The largest border is traditionally on the bottom, but to each his own :)
ReplyDeleteWhat a great idea! The detailing is really pretty!
ReplyDeleteWhat a great idea! The detailing is really pretty!
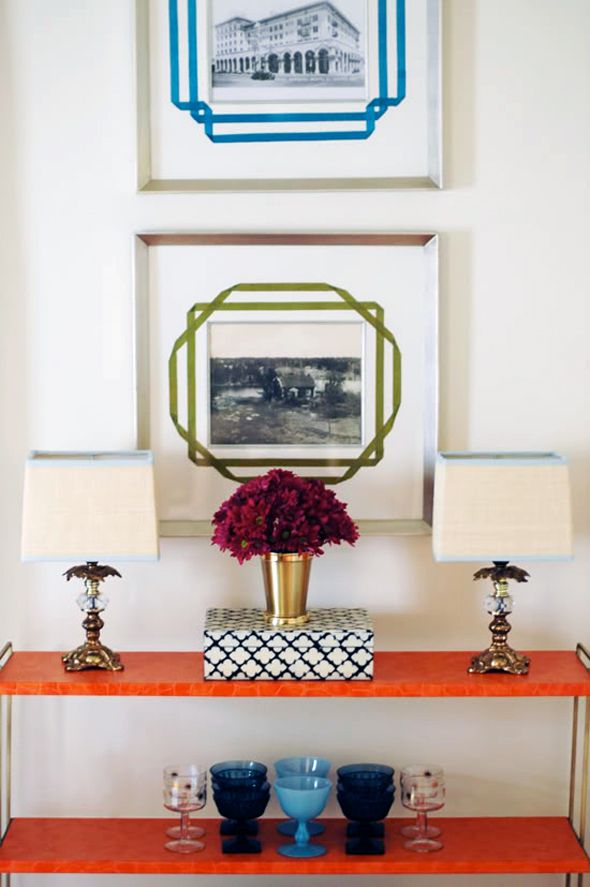
ReplyDeleteDo you still have the tutorial up for how to paint a table like the aqua one in the first picture?
ReplyDelete